
快速开始
本页给出从开放平台账号到 SDK Open 本地 runtime 首次调用的完整路径。
1. 创建开放平台账号
- 打开开放平台站点并进入注册页。
- 选择国家或地区。
中国大陆使用手机号短信验证码,其他地区使用邮箱验证码。 - 完成验证码校验和密码设置。
- 登录后,在控制台中创建应用并管理 API Key。
2. 创建应用和 API Key
进入控制台后先创建应用,再为应用创建 API Key。 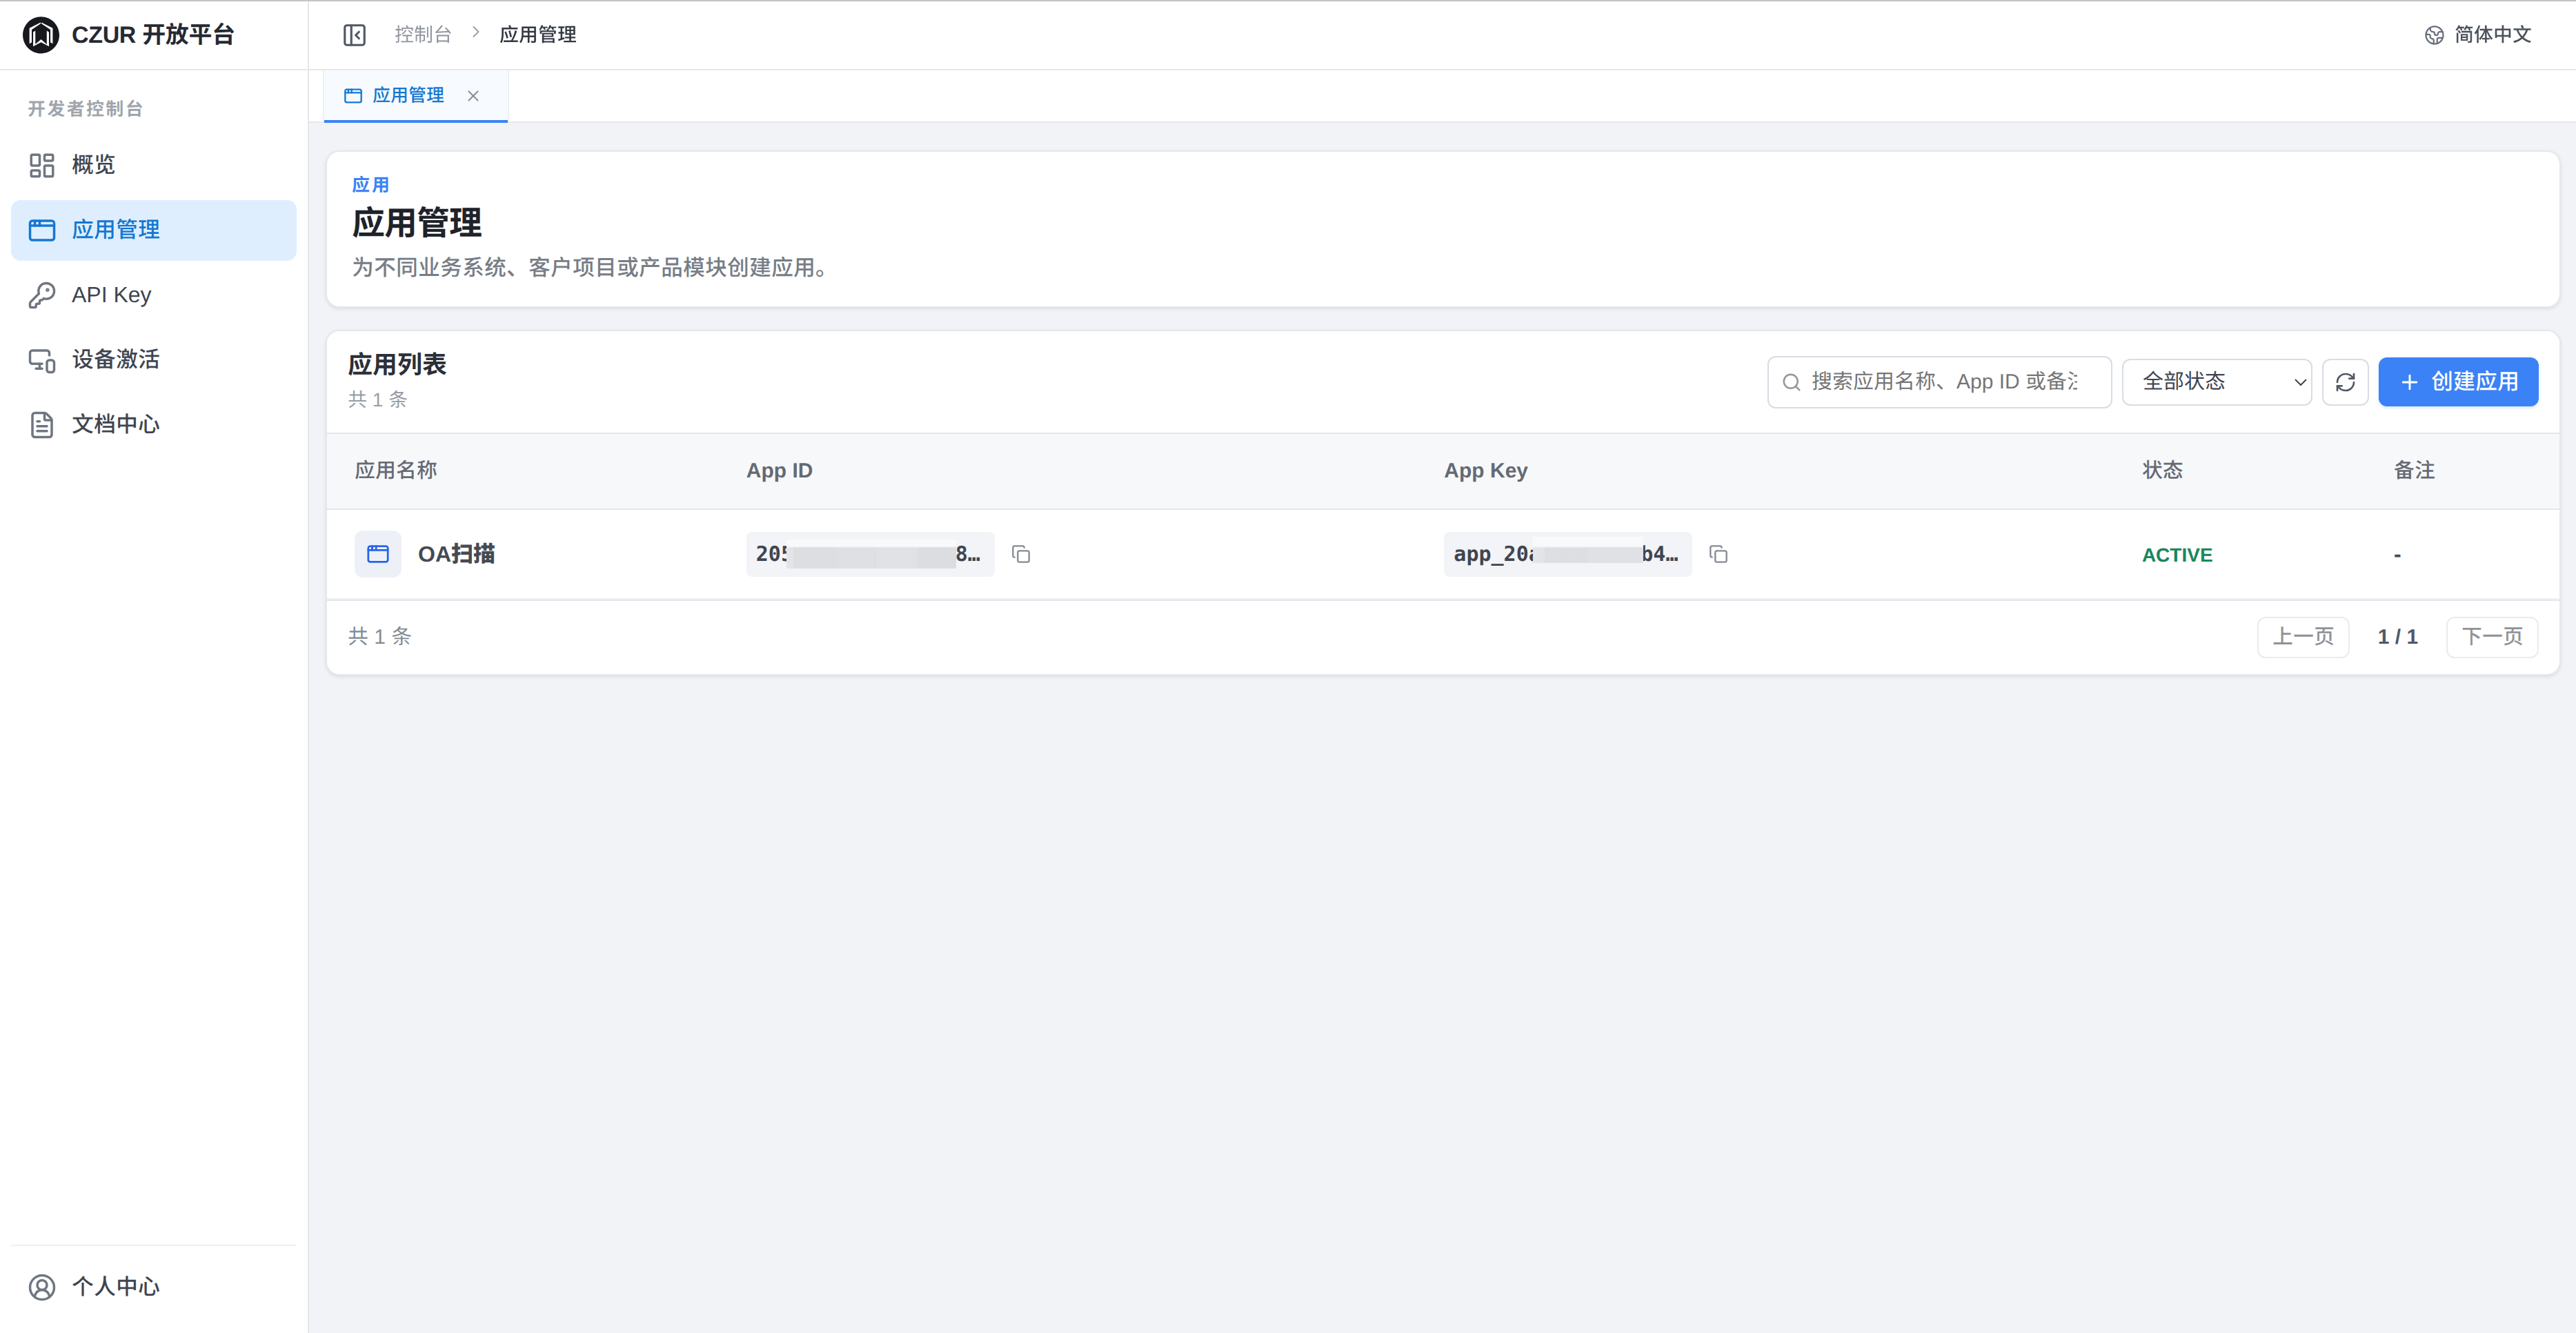
完整 API Key 明文只在创建或替换签发响应中出现一次, 请妥善保存。在后续调用中, 请使用该 API Key 进行授权校验。 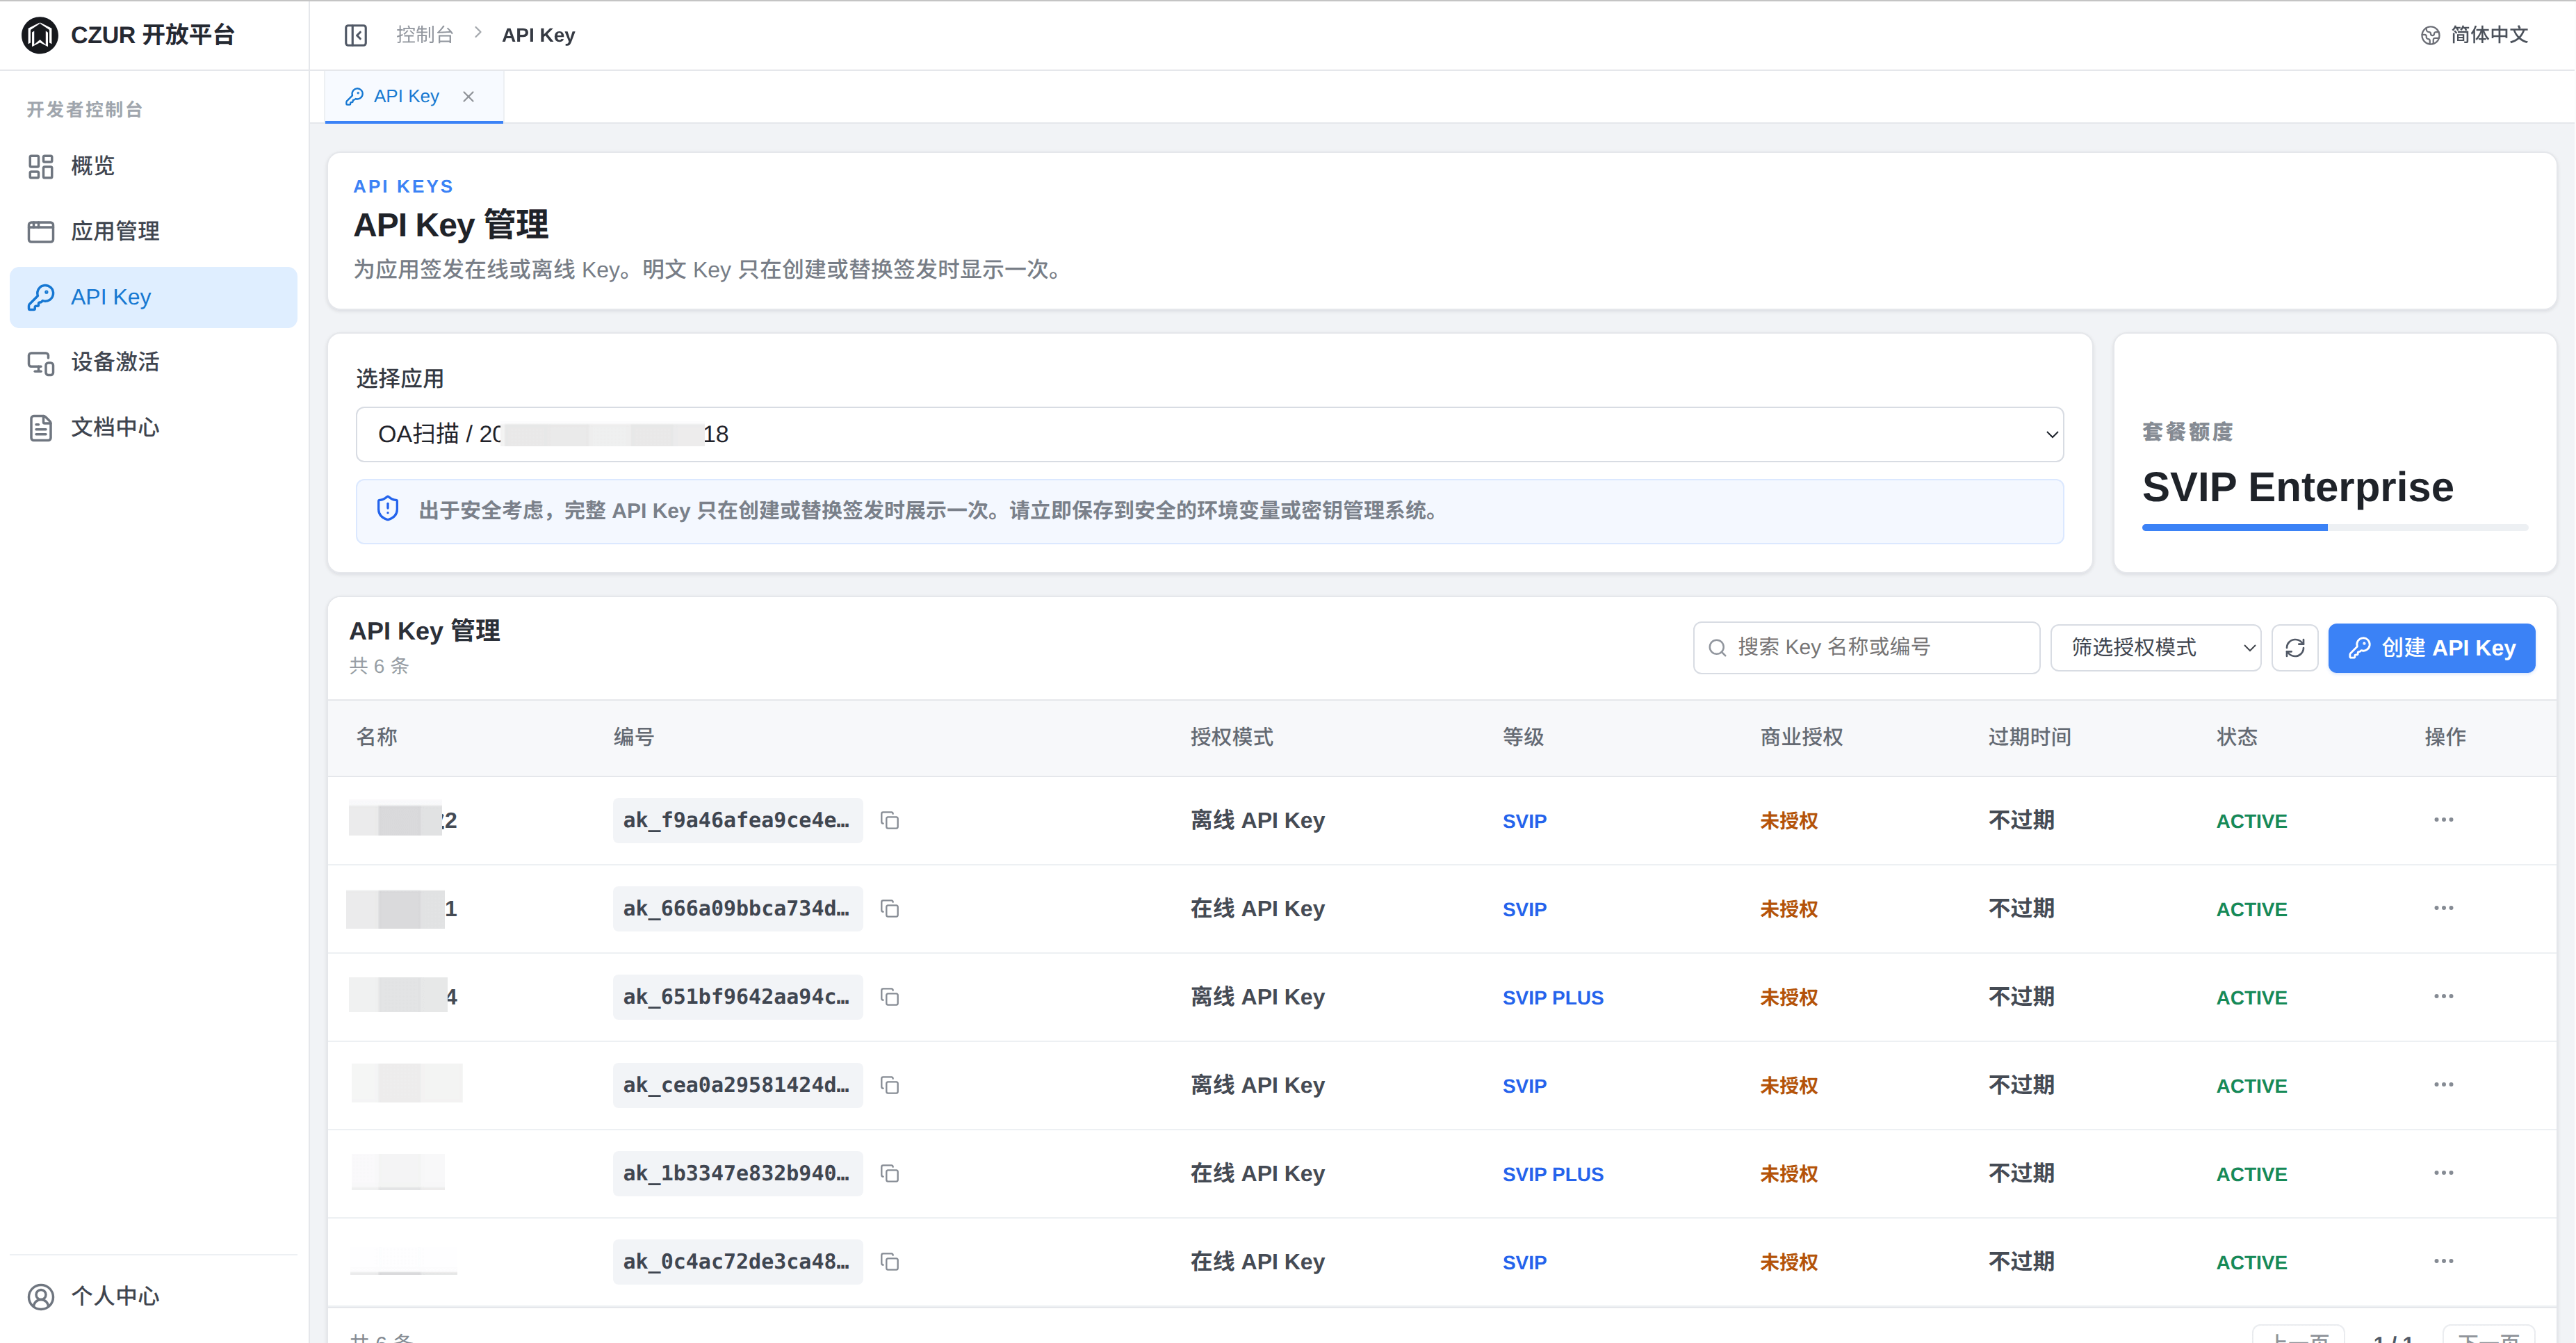
3. 下载、安装并启动本地 SDK runtime
Linux 发行版通过 deb 包安装,安装后 SDK runtime 会作为本机后台服务运行。后续 Windows 和 macOS 安装包也会采用同样的接入模式:先安装本地 runtime,再通过本机 HTTPS/WSS 调用能力。
下载最新安装包:
- GitHub Releases:
https://github.com/CZUR-Developer/czur-sdk-open/releases - 码云 Releases:
https://gitee.com/czur_dl/czur-sdk-open/releases
在 Linux 上安装 deb 包并启动服务:
sudo apt install ./sdk-open_<version>_<arch>_common.deb
sudo systemctl enable --now sdk-open.service
systemctl status sdk-open.service
对外 SDK 默认端点:
| 端点 | 地址 | 用途 |
|---|---|---|
| Admin HTTP | http://127.0.0.1:17080 | 健康检查、运行时状态、配置和日志。 |
| Demo HTTP | http://127.0.0.1:17081 | 本地 demo 站点。 |
| Asset HTTPS | https://sdk-runtime.localhost:18082 | 上传图片、读取采集/处理/转换后的资产。 |
| Command WSS | wss://sdk-runtime.localhost:18090 | JSON 指令通道。 |
| Video WSS | wss://sdk-runtime.localhost:18091 | 视频帧输出通道。 |
对外 SDK 默认开启 TLS,并将 sdk-runtime.localhost 映射到 127.0.0.1。普通客户端应使用上述 HTTPS/WSS 端点;明文 HTTP/WS 仅用于兼容场景。Video WSS 连接时还必须携带 session_token 与 stream_id 查询参数。TLS 证书、信任和自定义部署说明请参考 连接建立。
打开本地演示站点
安装并启动 runtime 后,可在浏览器中打开 http://127.0.0.1:17081 访问本地演示站点。输入之前创建的 API Key,即可访问。演示站点用于验证连接、授权、设备、视频、采集、上传和任务轮询等端到端流程。 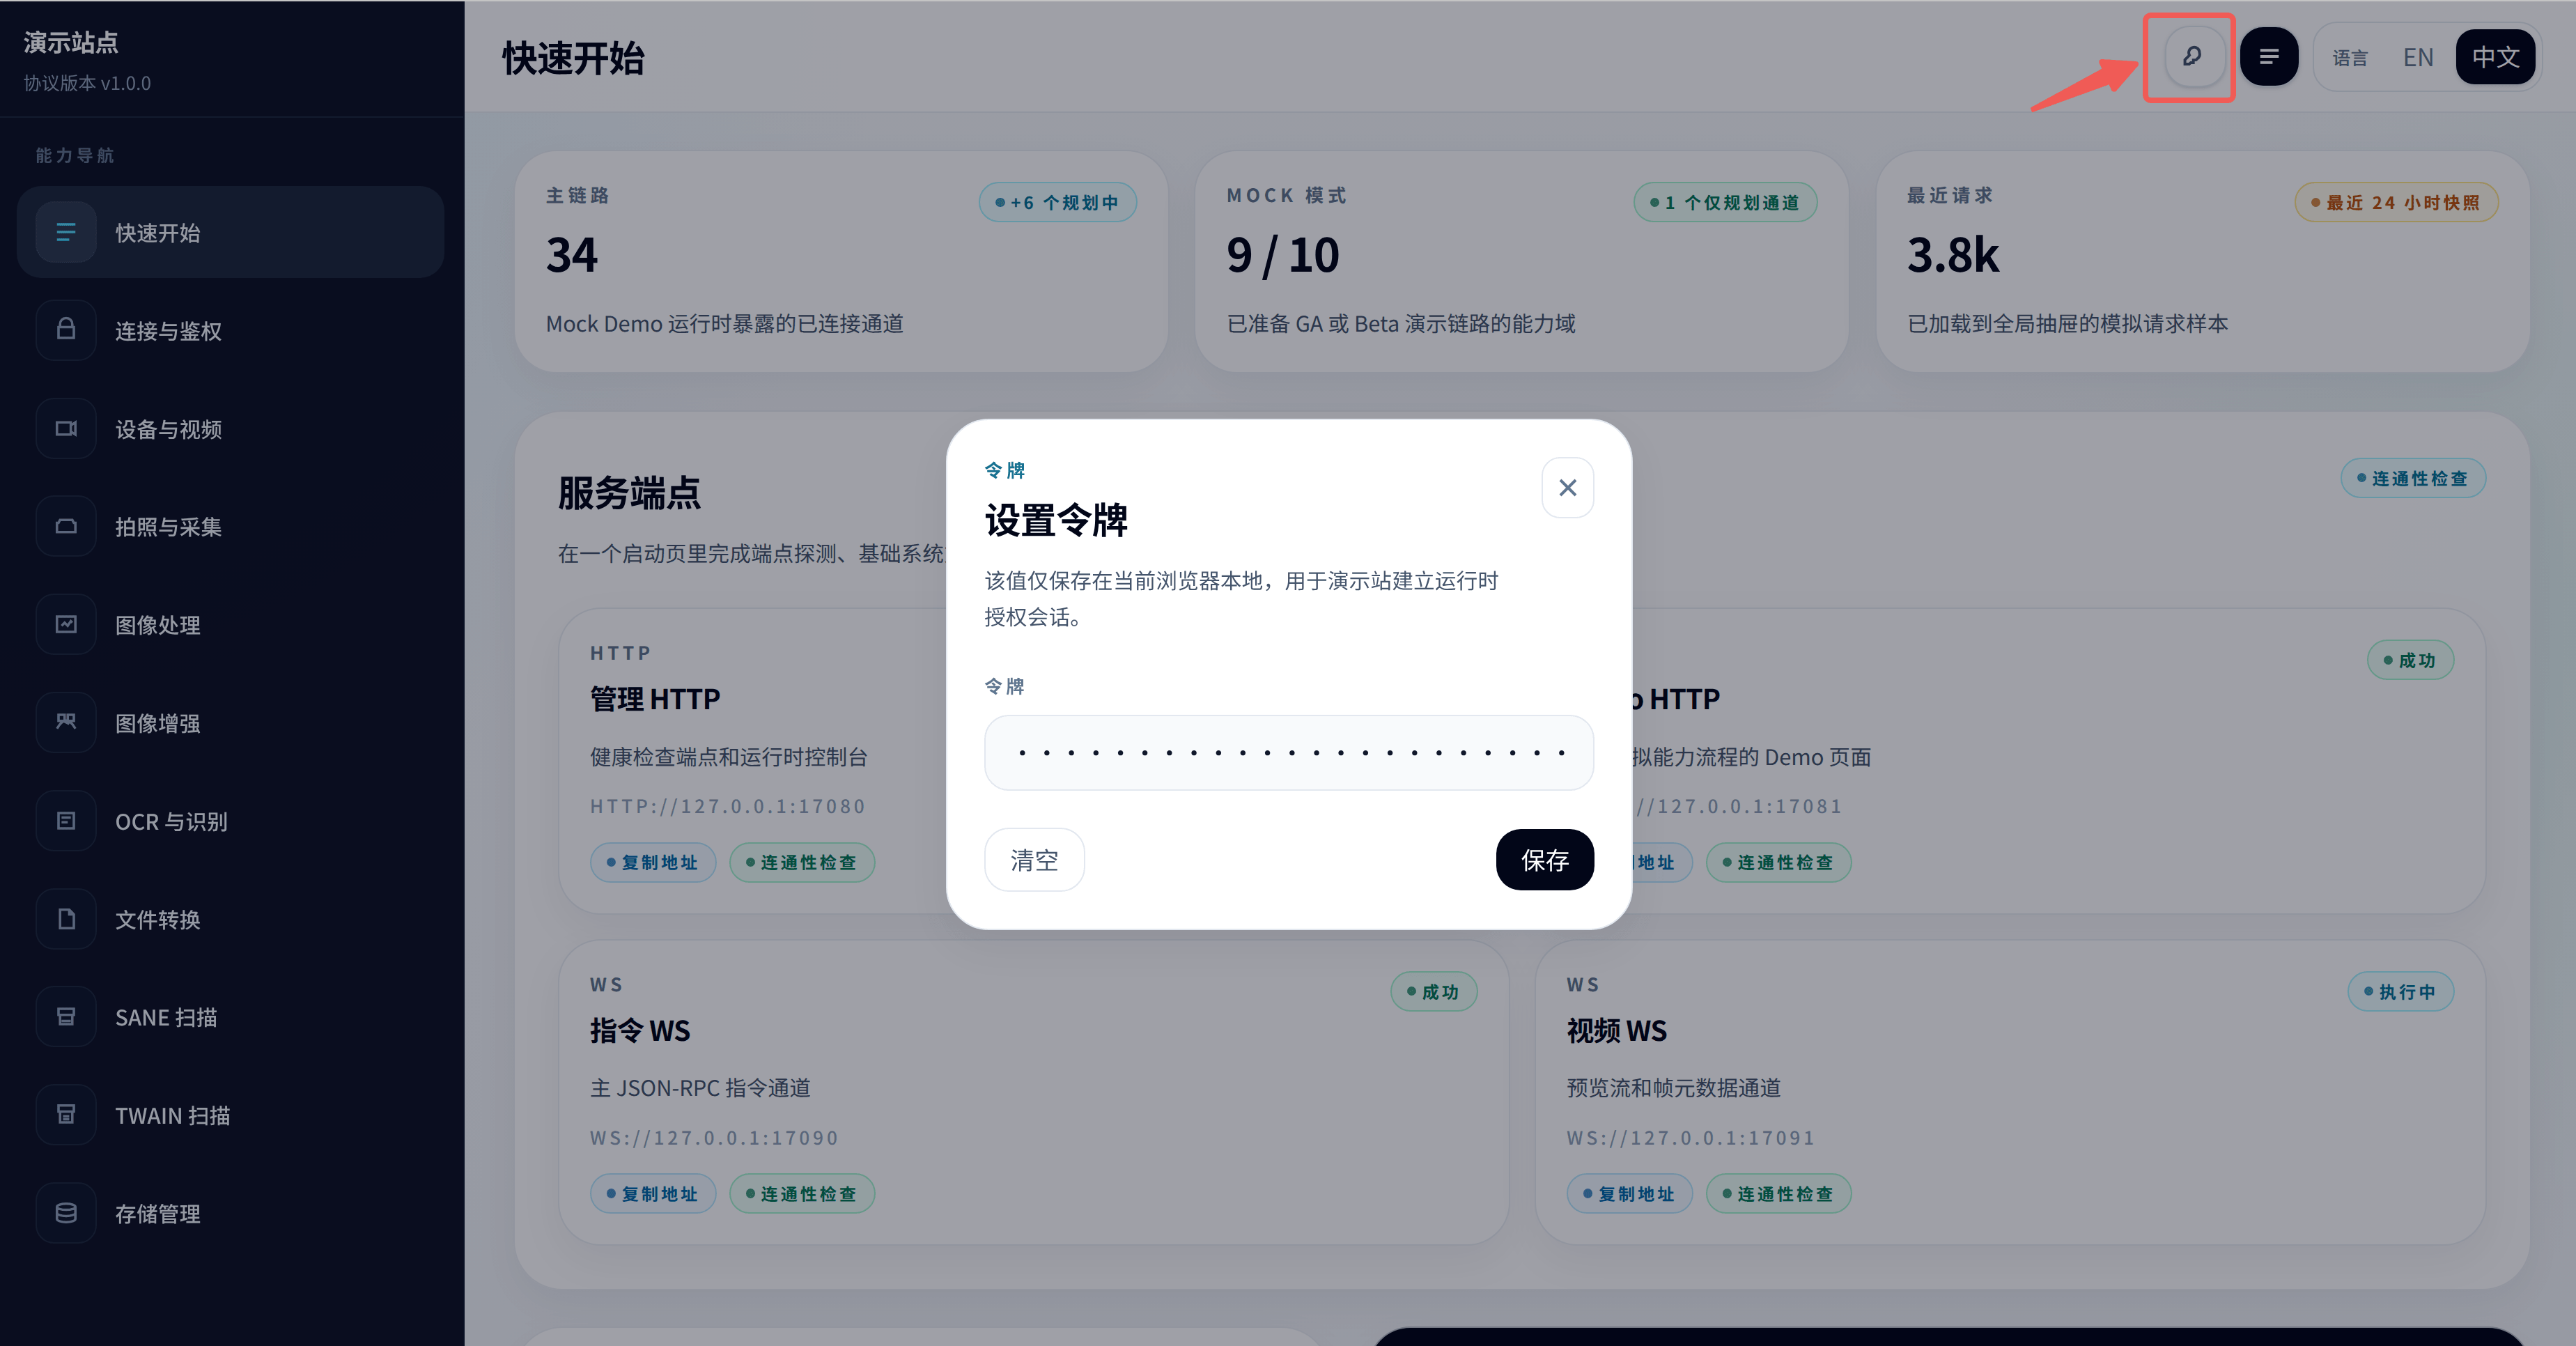
如果运行时配置覆盖了默认端口,请以 system.info 返回的 ports.demoHttp 或实际运行时配置为准。演示站点源码位于 src/sdk_open/frontend/demo-site;普通接入优先使用 runtime 挂载的本地站点。
安装后确认运行时:
curl http://127.0.0.1:17080/healthz4. 建立 Command WS 并创建会话
type CommandResponse<T = Record<string, unknown>> = {
  request_id: string
  code: number
  message: string
  data: T
  ts: number
}

const ws = new WebSocket('wss://sdk-runtime.localhost:18090')
let seq = 0

function call(method: string, params: Record<string, unknown> = {}) {
  ws.send(JSON.stringify({
    request_id: `req-${++seq}`,
    method,
    params,
    client: {
      source: 'your-app',
      protocol_version: '2.0.0',
      trace_id: `trc-${Date.now()}`
    }
  }))
}

ws.addEventListener('open', () => {
  call('system.ping')
  call('auth.create_session', { token: 'sk-sq-v1-...' })
})

ws.addEventListener('message', (event) => {
  const payload = JSON.parse(event.data) as CommandResponse
  console.log(payload.request_id, payload.code, payload.data)
})
auth.create_session 成功后,session 绑定在当前 Command WS 连接上。后续业务方法不需要重复携带 API Key。
5. 调用能力
推荐的首次调用顺序:
system.ping
auth.create_session
system.capabilities
device.list
device.get
device.open
video.start
connect Video WSS
capture.take 或 image.process / ocr.recognize / file.convert
video.stop
device.close
auth.destroy_session
如需上传本地文件给图像、OCR 或转换接口使用:
async function uploadImage(sessionToken: string, file: File) {
  const form = new FormData()
  form.set('file', file)

  const response = await fetch('https://sdk-runtime.localhost:18082/api/uploads/images', {
    method: 'POST',
    headers: { Authorization: `Bearer ${sessionToken}` },
    body: form
  })

  return response.json() as Promise<{
    upload_id: string
    asset: { asset_id: string; url: string; download_url: string }
  }>
}
拿到 upload_id 后,可作为 input_upload_id 传入 image.process、image.enhance、ocr.extract_text、recognition.barcode_detect 或 file.convert。